When I was little, we knew that school was about to start when my mum embroidered our names in the school overalls with a beautiful blue thread.
In Helsinki, children do not use overalls, although it would be a good idea, considering how Pol's clothes turned every day. Instead, all clothes must be marked with the kid's name.
All clothes, socks included. Too much embroidering, I know.

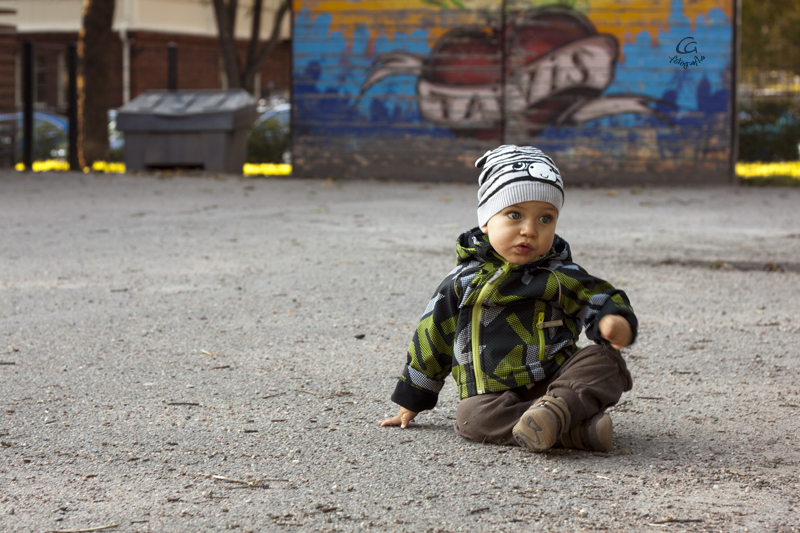
(Look his trousers! And that is only the beginning)
But the needle is not for me. I know how to do cross-stitching and I also consider myself able to embroider his three letters, but I do not visualize me embroidering all his clothes. No, no.
I needed another solution.
The first thing I noticed when I bought baby clothes from Nordic brands was that all of them had another tag added to the thousands you can find in brands of any other country.
There are tags explaining how to wash it, where was it made, where the brand is located and on top of them, a new tag that says: "Name". Easy and practical, as all Nordic staff. You only need a ball pen, write the name of the kid and voilá: clothes ready.
But I was looking for something special, remember? So I bought these:
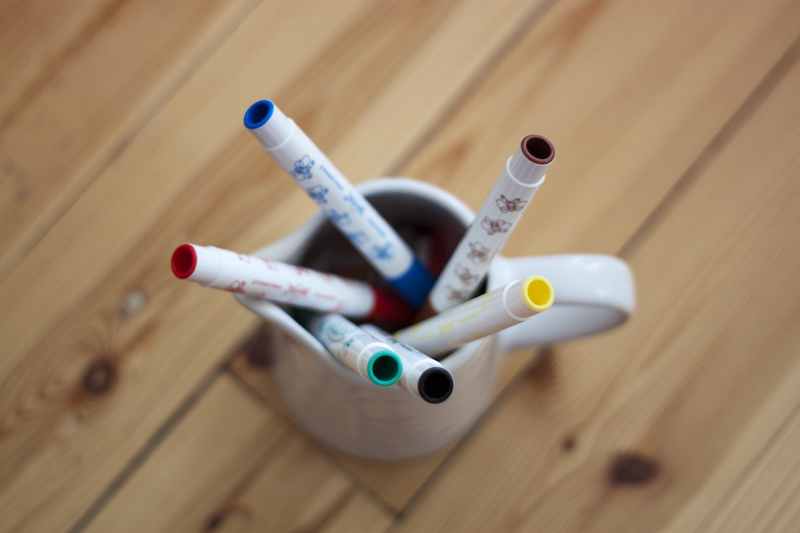
(Clothes markers. Mine, from Carioca)
First trousers, t-shirts, socks and sweaters were colourful and bright. Perfect for my happy boy.
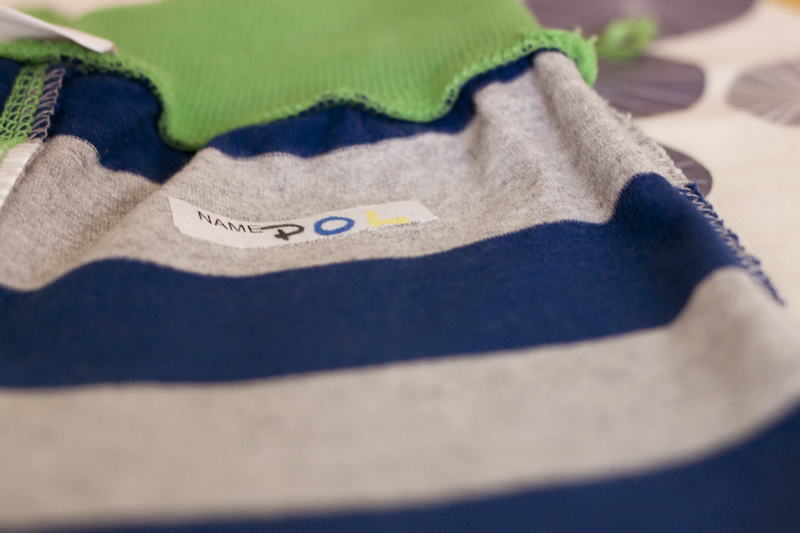
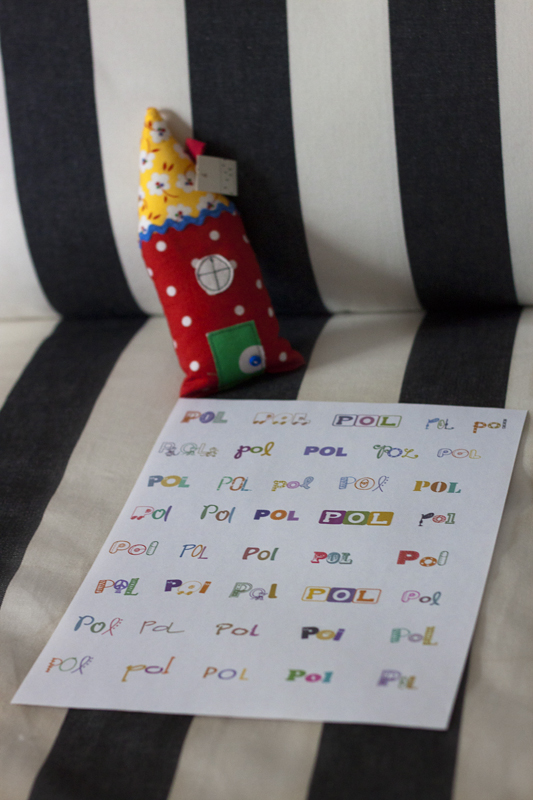
But after that, I started thinking in new ways to make his name tag more different and special. And here started my journey to find iron on fabric that could be printed.
I was not lucky, that's the truth.
The language didn't help me, neither the fact that I didn't know exactly what I was looking for. At the end I found something called "T-shirt Transfer" in a stationary shop, that mainly transfer to fabric everything printed.
If you want to try, here are some tips:
1. Think beforehand in the type of clothes you are going to mark. In case, there are dark clothes, you will need to add a background to your text.
Remember that only printed stuff is transferred to the fabric and that all you see white in your screen is not going to be there unless you include it as a color.
Internet offers you thousands of pages with free typography for non commercial use. Those are some of them:
For nice backgrounds, you have here some tutorials for Photoshop:
2. Space the words out and try to line them up. It seems stupid, but it will be very useful when you'll start to cut them.
I made my design on Photoshop, but if you are thinking only in letters, consider to use a word processor like Microsoft Word. The easiest, the best.
3. Read carefully the instructions, before start ironing.
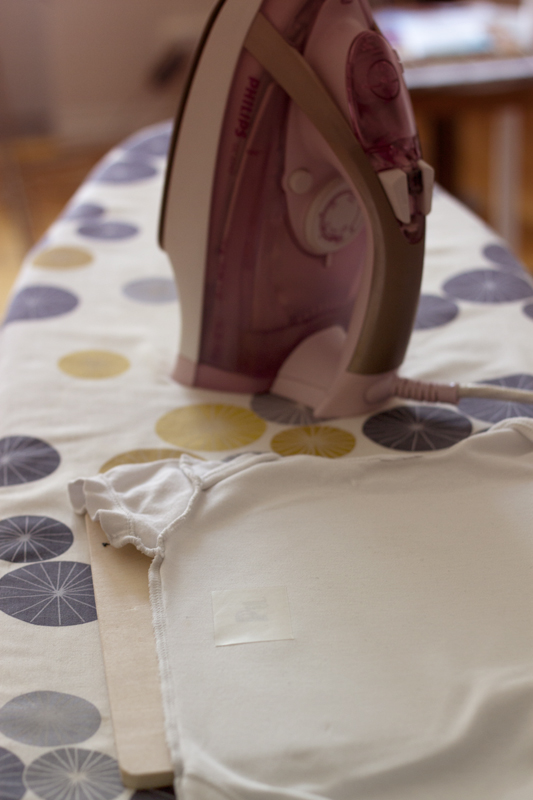
In my case, the instructions clearly stated that an ironing board should not be used during the transferring process, but a wood surface.
We are the kind of people that ends with all their tables with a glass top, so I decided to use our ironing board and see what was happening. The result was not bad, but neither perfect, so next time I put a wooden toy underneath Pol's t-shirt.
My scientifical mind remind me later, that wood is the best natural insulator, meaning that the process needs so much heat, that you cannot loose anything in the ironing board.
Water should not be part of the process neither, so remember to change your iron settings to not vapour, if like me, you have the highest vapour chosen by default.
4. Be as creative as you want.
This first time I only used words, but try to add drawings to your tags if you feel so.
Ishtar Olivera does so with her pictures and look how beautiful they turn!
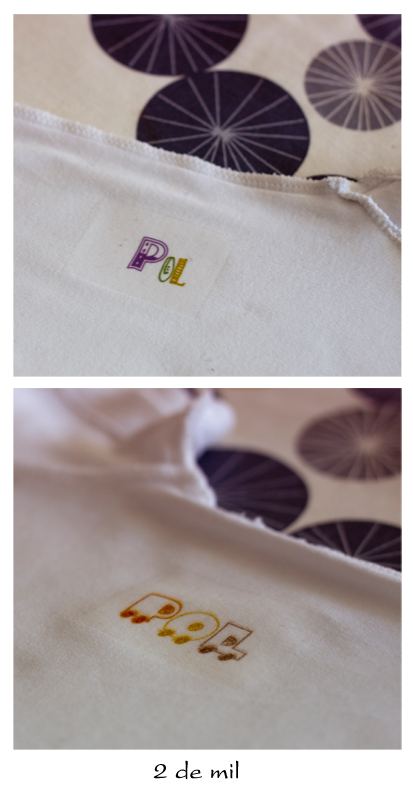
I will keep trying, but here are some pictures of the end result:
(2 of a thousand)
There are ready made tags in case you do not want to spend your time, or you think you are not able to do it (you are, I can tell you).
I only know Spanish brands, but I am sure there are thousands of shops out there.
You can see
Lucía's here and other address
here.
And you? How have you marked your children clothes? Can you recommend me any other iron on fabric?
See you tomorrow. We're travelling soon and I am looking for your secret addresses.
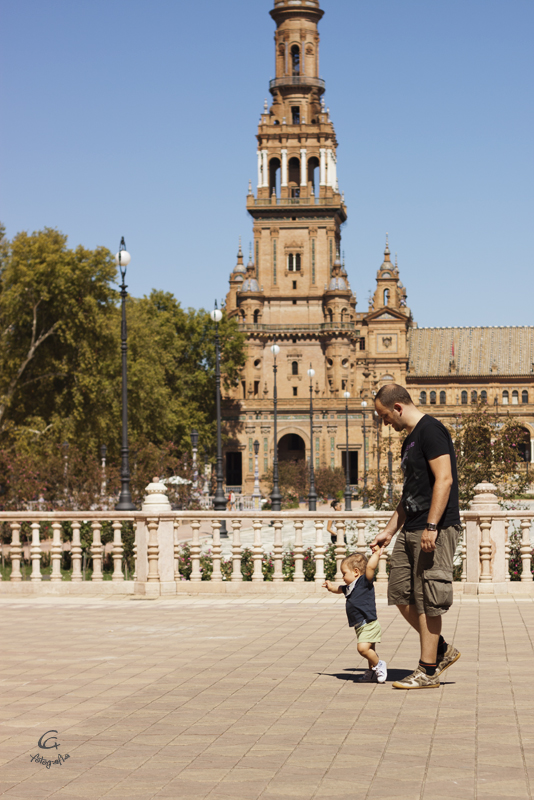
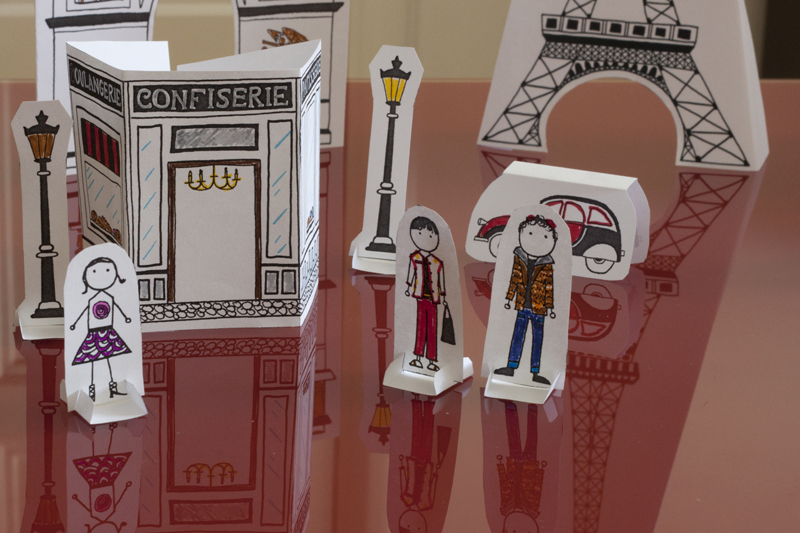
A small clue about one of our destinations:
See you tomorrow!
